Items
Create and edit your rental items, set quantities, pricing, photos, and visibility
Items
Items are the individual pieces of gear you rent out. Each item has a name, quantity, daily rate, optional photos, and a visibility setting that controls who can see it.

Creating an item
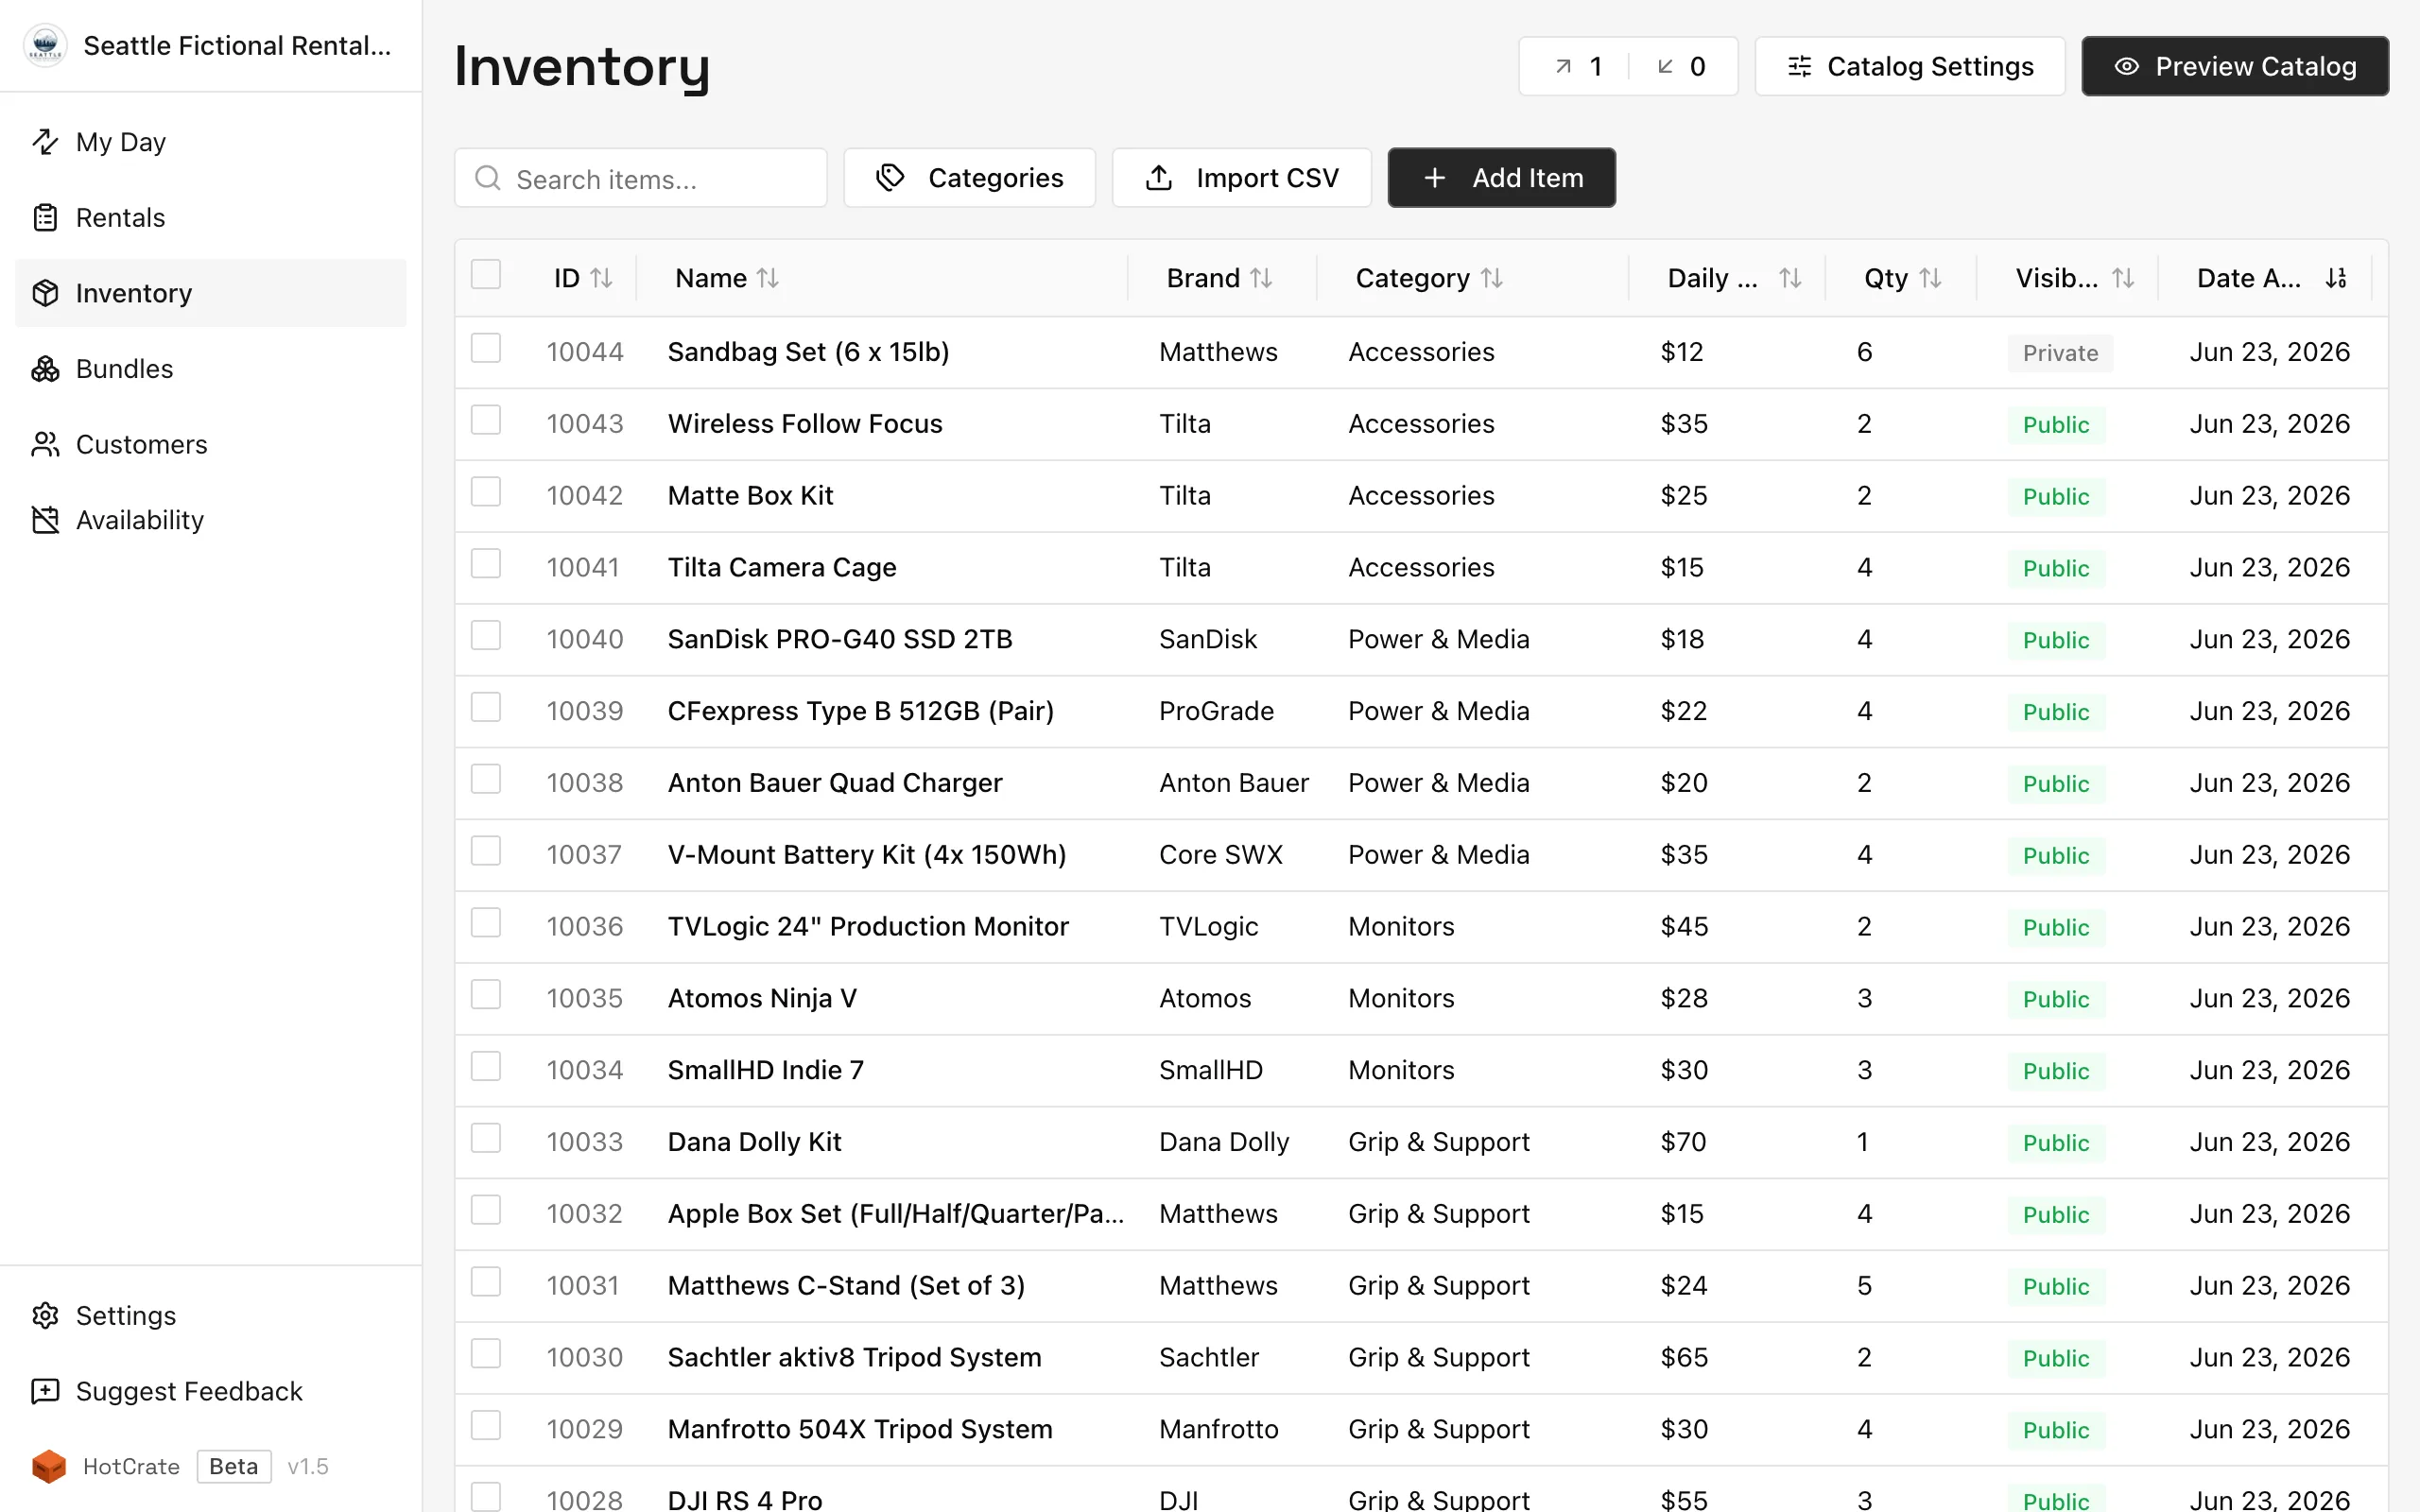
- Go to Inventory in the sidebar.
- Click Add item.
- Fill in the required fields:
- Name - the display name for this item
- Quantity - how many units you own (must be a whole number, 1 or more)
- Daily rate - your rental price per day
- Visibility - see below
- Optionally add:
- Description - shows on the item page in your catalog
- Category - used to organize items in the sidebar filter
- Brand - the manufacturer or brand name
- Storage location - internal note about where this item is stored
- Photos - up to 1 photo on Free, up to 5 on Pro
- Click Save.
Importing items from CSV
Bulk-import your inventory from a spreadsheet instead of adding items one at a time. CSV import is a Pro feature.
- Go to Inventory in the sidebar.
- Click Import CSV in the toolbar.
- Upload your file by dropping it on the upload area or browsing for it. Need a starting point? Click Download template CSV to get a file with the right columns.
- Map columns. HotCrate auto-matches columns by name; adjust any that did not map. The required fields (
name,category,daily_rate) must be mapped before you can continue. - Preview the parsed rows. Validation errors are listed by row so you can fix the file and re-upload, and you can remove individual rows you do not want to import. Categories that do not exist yet are flagged and created on import.
- If any rows match items you already have (by name or ID), review them on the Duplicates step. Leave Update matching items unchecked to import only the new rows, or check it to update the existing items (empty fields in the CSV are skipped).
- Click Confirm Import. When it finishes, you will see how many items were inserted and updated.
CSV columns
Required: name, category, daily_rate
Optional: description, quantity, visibility, is_featured, subcategory, brand, id, code, storage_location
Visibility settings
| Setting | Who can see it |
|---|---|
| Public | Anyone with your catalog link |
| Unlisted | Anyone with the direct item link; hidden from the catalog browse view |
| Private | Only you; does not appear anywhere in your public catalog or embed |
If you reach your plan's public or unlisted item limit, the app will prevent you from setting items to that visibility until you either set some items to private or upgrade to Pro.
Featured items
Turn on the Featured toggle in an item's Visibility section to highlight it. Your public catalog and embed gain a Featured filter (next to Bundles) that shows only featured items and bundles, and every featured item is marked with a small Featured bookmark icon (hover it to see the "Featured" label) wherever it appears, including while browsing normally. Featured items also stay in their normal category, so nothing moves out of place.
Featured is available on every plan with no limit, though featuring only a handful of items keeps the filter meaningful. Bundles can be featured the same way.
Editing an item
Click an item in the inventory list to open its editor. Edit any field and click Save Changes.
Bulk actions
To change several items at once, select them in the Inventory list using the checkboxes on the left of each row, then click the Actions button that appears in the toolbar. You can:
- Change Category - move all selected items to one category.
- Change Daily Rate - set the same daily rate on every selected item.
- Change Visibility - set all selected items to Public, Unlisted, or Private.
- Set Featured - feature or un-feature all selected items at once.
With items selected, you can also click Create Bundle to group them into a package. See Bundles.
Shareable item link
Each item has a stable, permanent URL (/u/your-slug/items/item-slug). You can copy it from the item editor. This link works regardless of whether the item is public or unlisted.
External links
The External Links extension lets you attach links to other websites on an item - for example a manufacturer's product page, a spec sheet, or a demo video on YouTube or Vimeo. The links appear on the item's page in your public catalog.
External Links is a Pro extension. Once you enable it in Settings > Extensions, an External Links field appears in the item editor where you add a label and URL for each link.
Related
- Bundles - group items into packages
- Categories - organize your inventory
- Availability and date blocks - control when items can be booked