Getting Started
Initial Setup
Get your organization settings, branding, and first inventory items in place
Initial Setup
After signing in for the first time, take a few minutes to configure your account and add your first gear. This gets your catalog ready to share with customers.
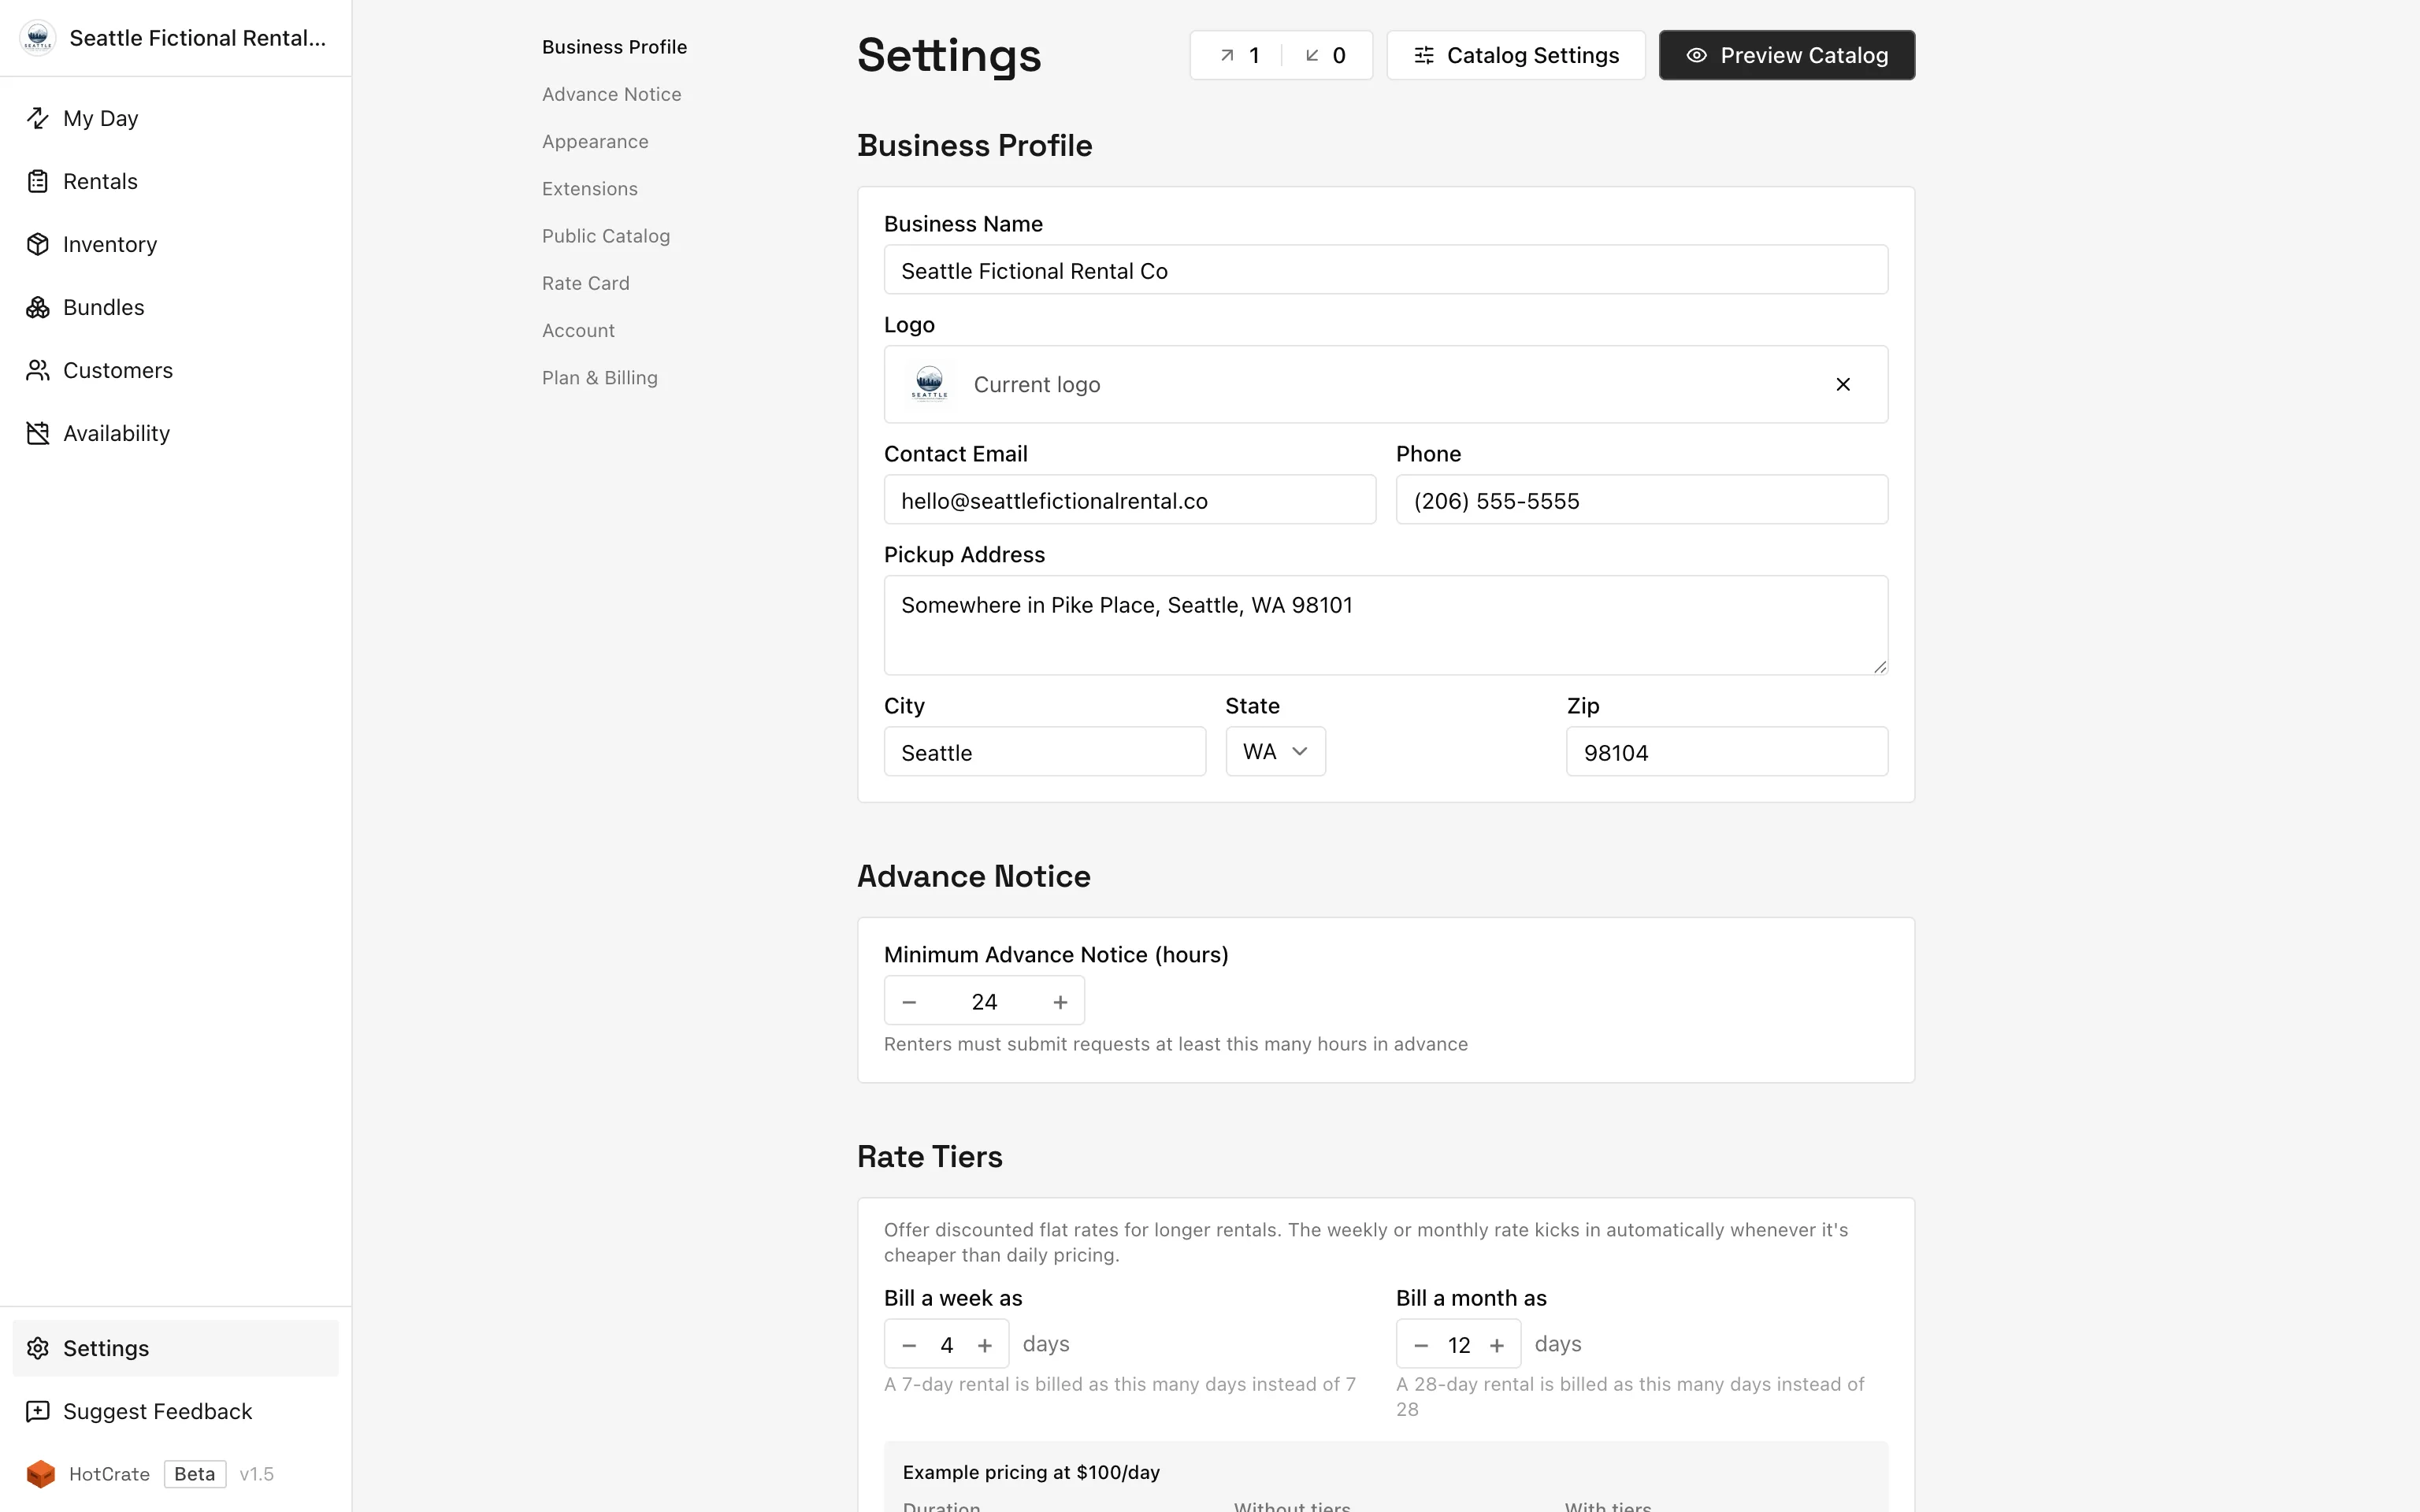
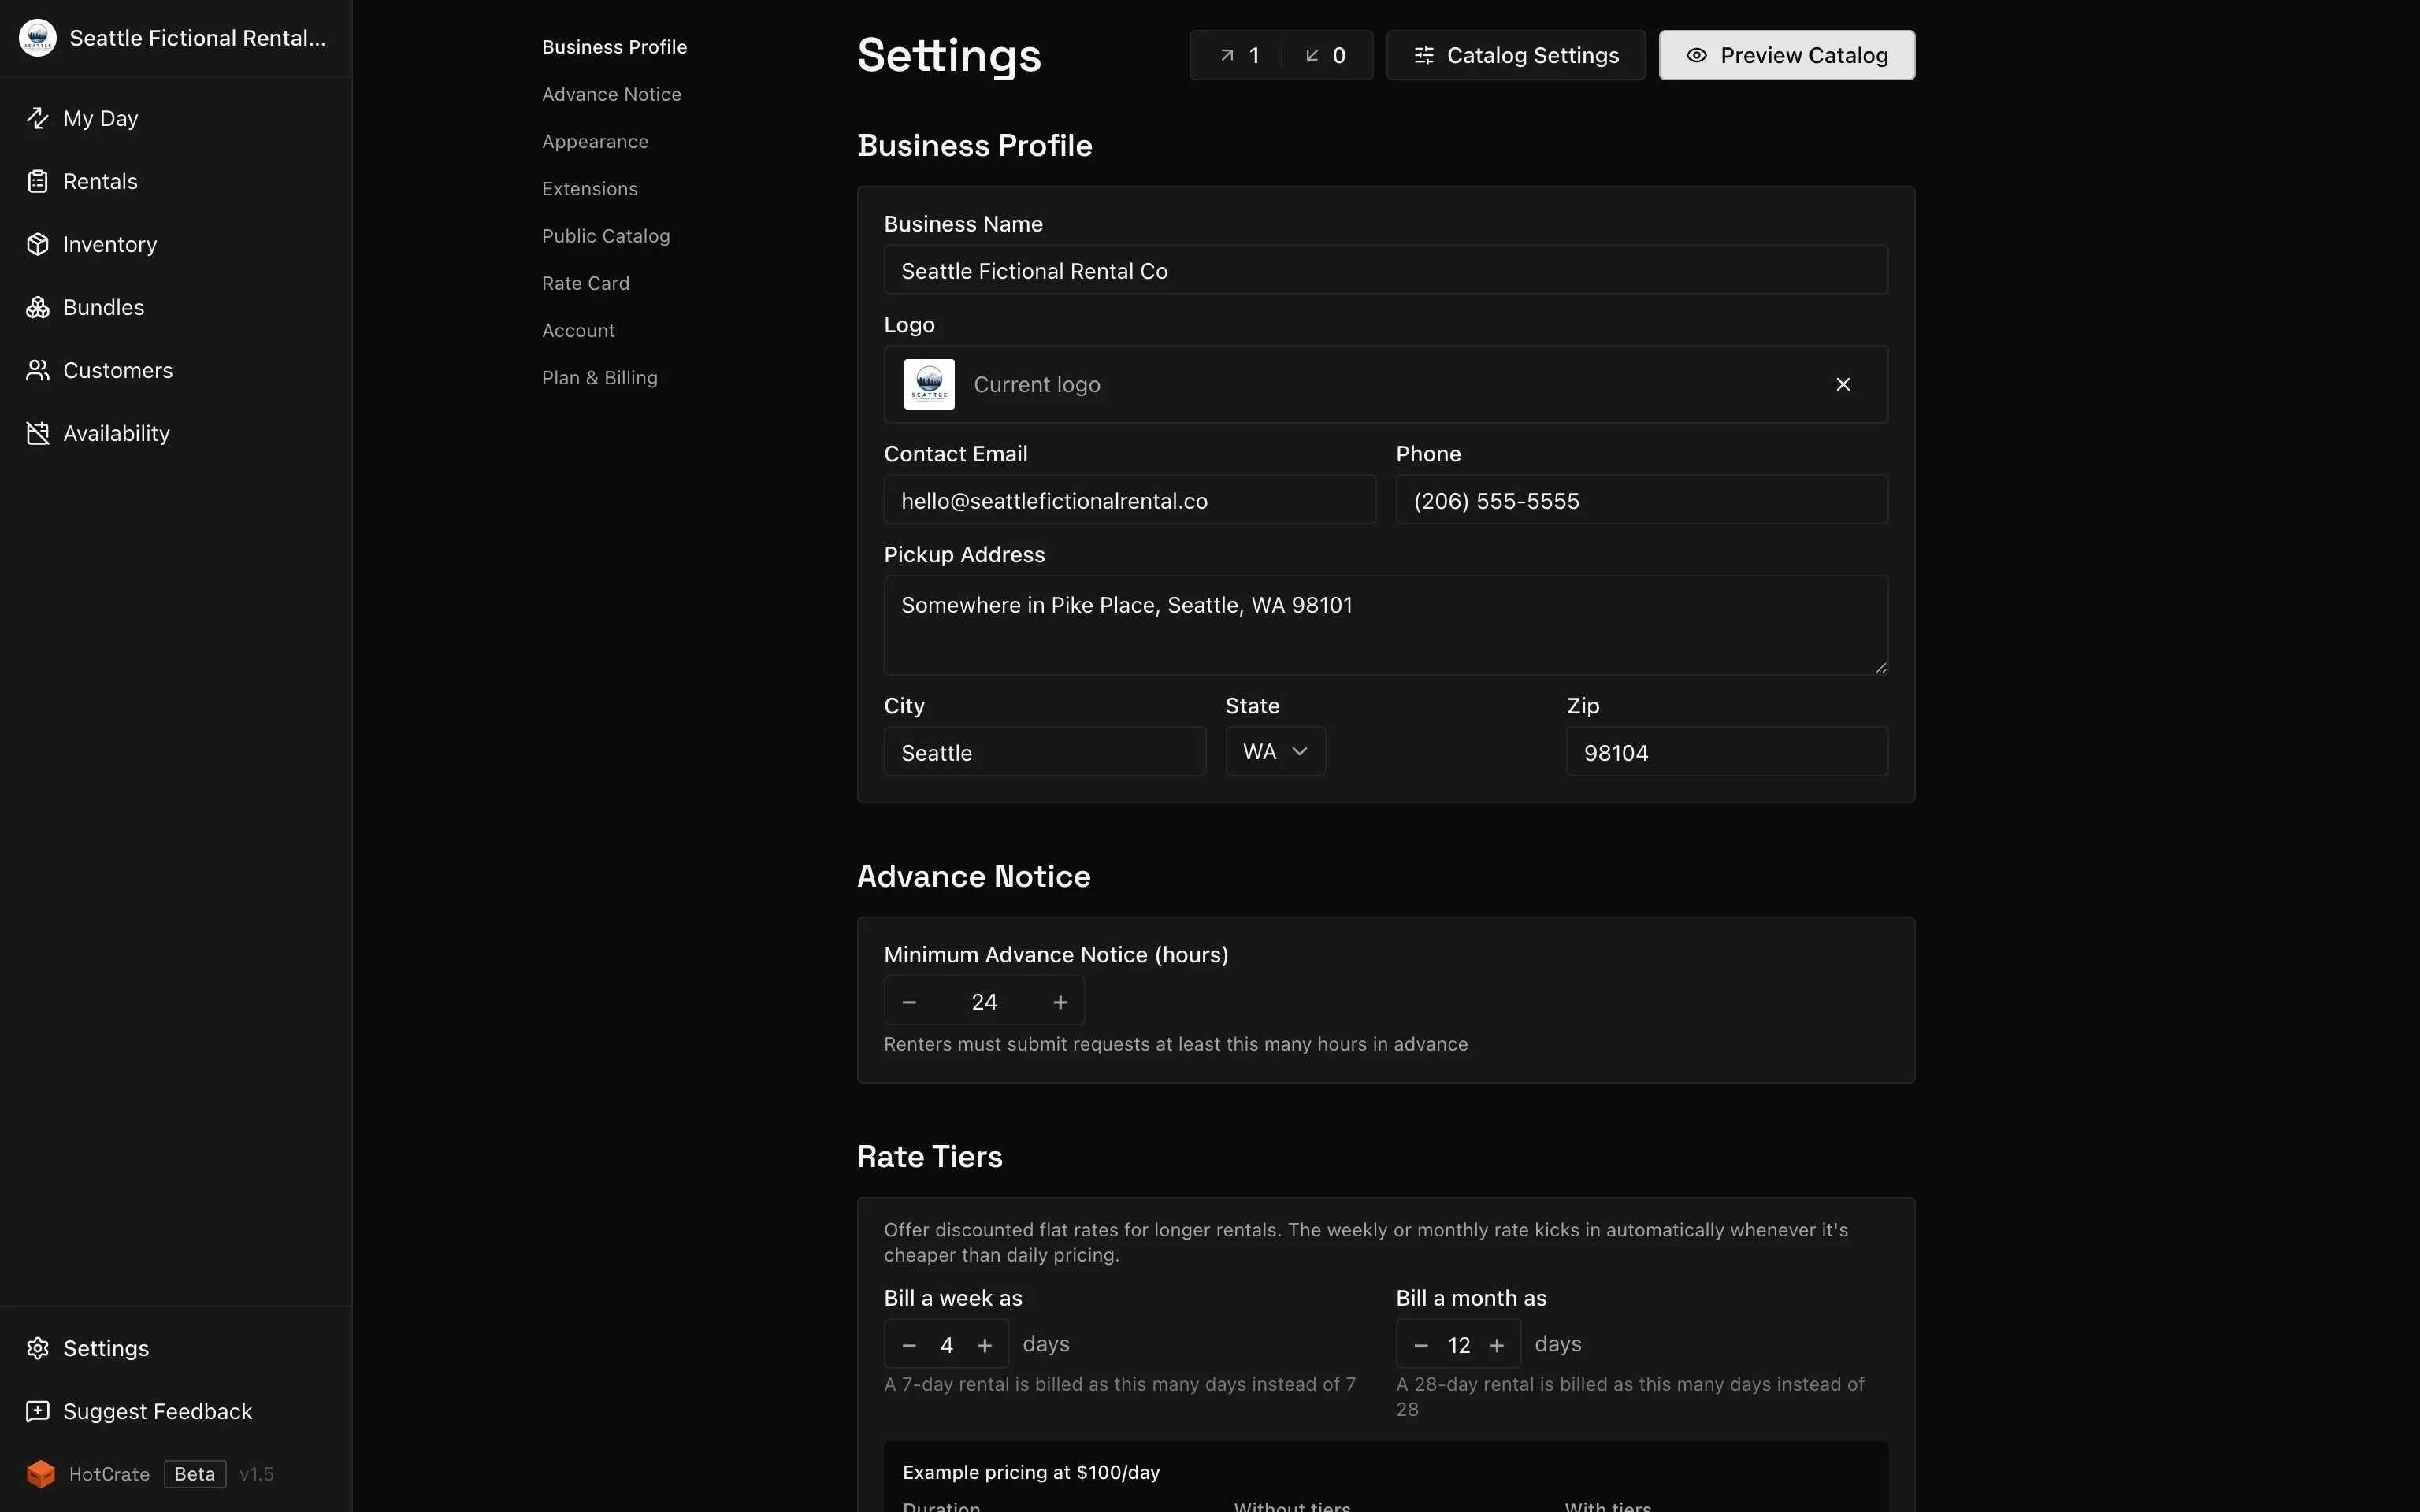
Step 1: Update your organization settings
- Go to Settings in the sidebar.
- Enter your business name. This appears on your public catalog, emails to customers, and in the browser tab.
- Add a logo if you have one. It shows in the catalog header and on any emails sent to customers.
- Set your catalog visibility (Public, or Private if you are not ready to go live yet).
- Click Save.
Step 2: Add your first items
- Go to Inventory in the sidebar.
- Click Add item.
- Fill in:
- Name - what you call this piece of gear
- Quantity - how many units you own
- Daily rate - your rental price per day
- Visibility - Public to appear in your catalog, Unlisted to share by direct link only, Private to hide it
- Optionally add photos and a description.
- Click Save.
Repeat for each item. You can organize items into categories and group them into bundles once your core inventory is in.
Want to speed up this process? You can batch import your items and also create bundles from a selection of items on the inventory page.
Step 3: Check your catalog link
Your catalog is at hotcrate.app/u/your-slug. Click View catalog from Settings or copy the link and open it in a browser to see what customers will see.
What is next?
- Items - full detail on creating and editing items
- Sharing your catalog - visibility states and how to share your link
- Branding - logo, accent color, and plan differences